Showing posts with label Flower. Show all posts
Request Filled- Water Lilies by Claude Monet
This was definitely a hard challenge and I know I can do better with more practice(and more colors) but this is what I came up with as my interpretation of 'Water Lilies' by Claude Monet as a nail design. I gave different angles the best I could so can see. The pics are kind of blurry, but I am saving for a new camera! Hope this is kind of what you were looking for, John and per your request, came this design. I hope you like it and I will continue practicing this one to make it better and nicer! Thanks for reading! Read Full...
Practice Flowers
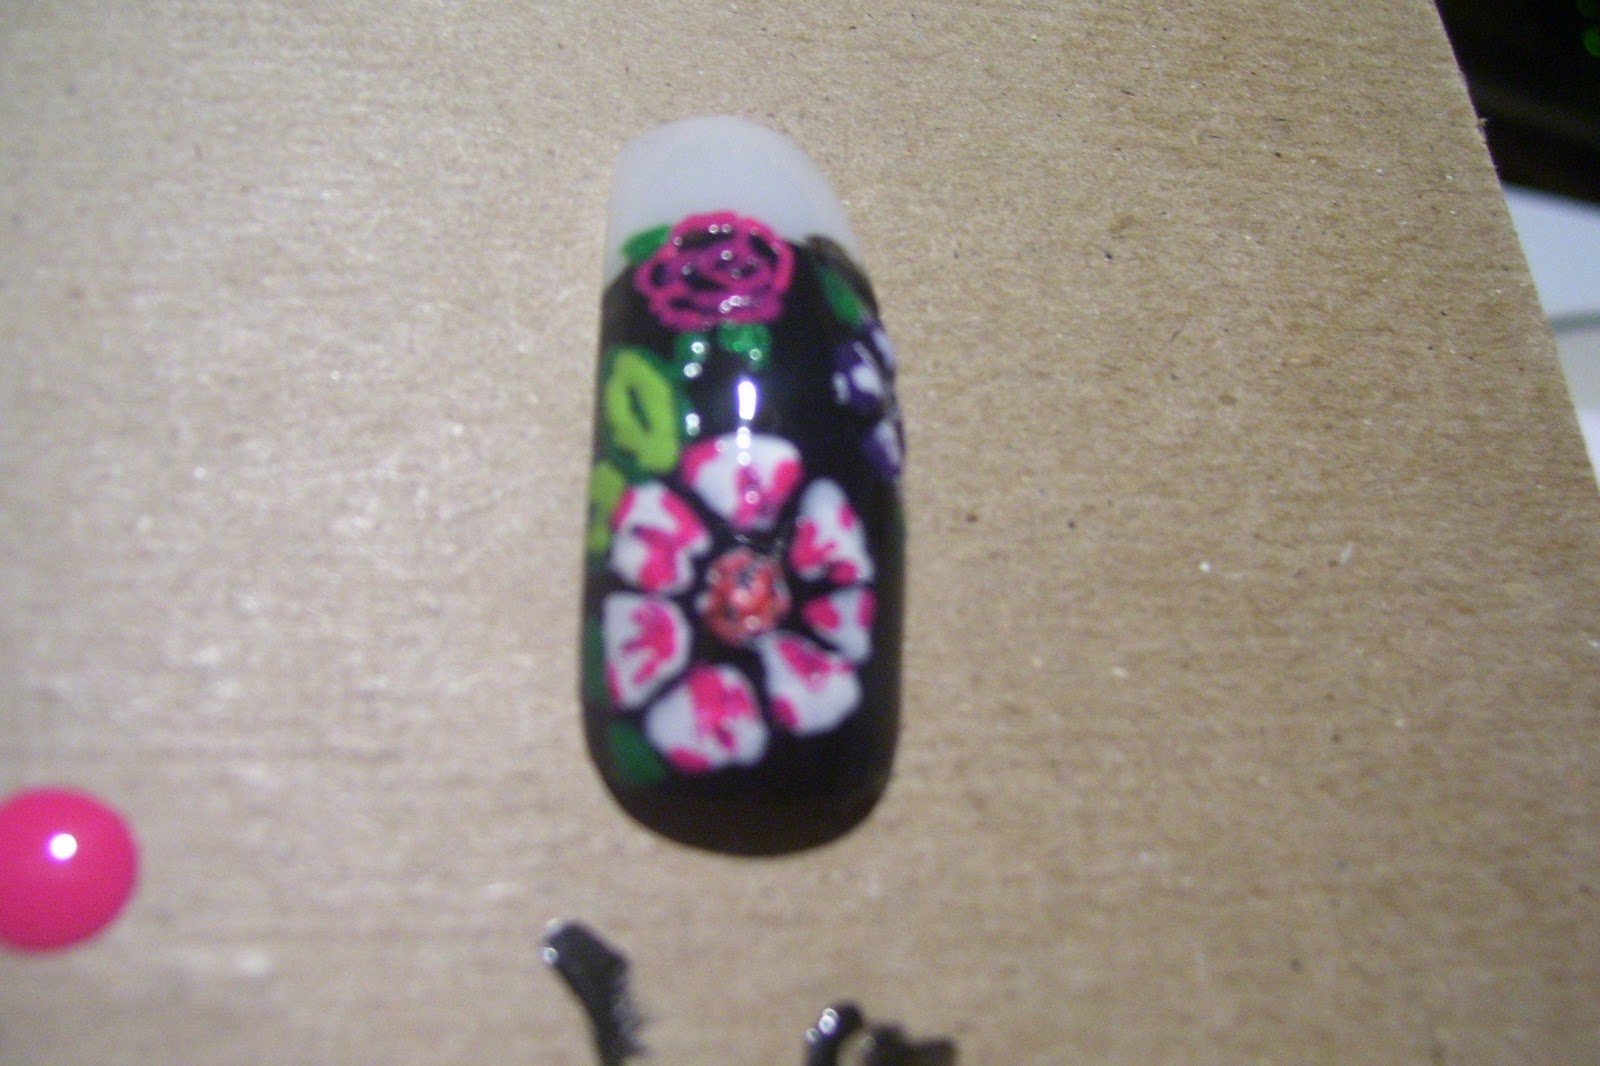
I decided to practice doing flowers. I didn't have any type pf design going here, just practicing. I used a black base coat because I knew I wanted to do bright colored flowers. I think the large white flower with pink came out nice. On top of the large white flower, I did a pink rose and off to the right side, I did a purple flower accented with a little white accent. The purple was a deeper tint, so it may be a little harder to see against the black.
Not too bad for some practice right? Any ideas for more flowers or other designs? I would love to hear or see other ideas or interpretations. Hope you enjoyed and feel free to leave questions or comments below! Thanks for reading!
Read Full...
Not too bad for some practice right? Any ideas for more flowers or other designs? I would love to hear or see other ideas or interpretations. Hope you enjoyed and feel free to leave questions or comments below! Thanks for reading!
Read Full...
Acrylic French Tips with Rhinestone Flowers
So, last night I decided to give myself a full-on set of acrylic french tips. I don't really mess with acrylics too much and this was first time doing it full-on. I was actually pretty happy with the results. For a first-timer with the acrylic, I think I did well. Once the french tips were done, They looked good....but plain. So I wanted to add a little something but I didn't have a whole lot of time so painting was out of the question. I decided to go with some good old rhinestones. Quick and easy to apply and look very nice. I decided to do a flower of rhinestones on my thumb and ring finger and do a smaller heart with red dots on the pointer, middle, and pinkie fingers. First, I started with the flowers. I used 6 red oval rhinestones(teardrops or diamond could work too) for the petals and a silver circle rhinestone for the middle. I added 4 pink rhinestones coming away from the flower, curving toward the cuticle a little. I used another pink and put it at the tip of the nail, close to the middle. The thumb nail is pictured below.

For the other fingers, I used a pink heart rhinestone, which placed off to the side, very close to the edge of the tip and added 4 little red dots(not rhinestones but tiny decals) starting at the heart and curving upward, as seen in the picture to the left.
Here a few extra pics of the design. Very quick and easy once the acrylic once finished. I had to do this fast and was able to make it look pretty good. Please comment, or respond with an interpretation. I would love to see some other rhinestone designs or other french manicure ideas. This could be for Valentine's Day too, I suppose but it wasn't really what I had in mind while doing it. Anyway, thanks for reading, hope you liked it and give it a try!
Read Full...
For the other fingers, I used a pink heart rhinestone, which placed off to the side, very close to the edge of the tip and added 4 little red dots(not rhinestones but tiny decals) starting at the heart and curving upward, as seen in the picture to the left.
Here a few extra pics of the design. Very quick and easy once the acrylic once finished. I had to do this fast and was able to make it look pretty good. Please comment, or respond with an interpretation. I would love to see some other rhinestone designs or other french manicure ideas. This could be for Valentine's Day too, I suppose but it wasn't really what I had in mind while doing it. Anyway, thanks for reading, hope you liked it and give it a try!
Read Full...
Random French Manicure/Flower Design
So this is what I did after Christmas passed while on down time in between holidays. Christmas is over and Valentine's isn't here yet....so French Manicure it is! lol So I started by doing a regular French manicure tip on my big toe nail. I cheated on this and used a flower nail decal. It was a decal from a filo cane(i bought the decal pre-sliced but you can buy entire filo canes too). I added some top coat to my nail and placed the flower. i then used 4 small rhinestone pieces, although you can only see 3 in the pic. I put them in a small cluster next to the flower. The color for the rhinestones I used were dark purple, yellow, red, and pink. After those were in place, I used more top coat to seal. I used the same rhinestones and design on my smaller toes, without flowers. I didn't have enough space for the flowers on my smaller toes so I just replicated the rhinestone design and it came out nice. I also ended up painted small green leaves onto my nail, coming off the flower, but that is not shown in this picture(I did it the next day). After the leaves were painted on, I sealed it again with top coat and was finished. This was an easy way out, I usually try to paint everything but there still looked nice and kind of professional. Hope you enjoy!
Read Full...
Flower Stamping Nail Art
Hi everyone. Today is my first experience creating nail design with Konad Stamping Nail Art. Thanks for Nicola from http://nailartoftheday.blogspot.com. She told me where to get this stamping nail art. So, when i spent time in Jakarta, i got the stuff and today i tried them.
Pixy as base coat, 2 coats of BL505 from Etude House, Red special nail polish from Konad, glitter purple from Eternally. I used Konad's stuff : plate m41, scraper, and stamper.
BL505 - Etude House as base colour :
Flower Stamping Nail Art :
Read Full...
These are what i used :
Pixy as base coat, 2 coats of BL505 from Etude House, Red special nail polish from Konad, glitter purple from Eternally. I used Konad's stuff : plate m41, scraper, and stamper.
BL505 - Etude House as base colour :
Flower Stamping Nail Art :
Read Full...
50% of Flower
I think the title of this post little bit weird. I dont have much time to think for the right tittle but finally i found one yet :) For this nail art, i started with base coat from Pixy, 3 coats of BL601 from Faceshop as base color, then i applied one line french with black polish, red from Pixy to create half of flower , and the last is top coat from Pixy.
These are what i used :
Read Full...
These are what i used :
The 50% of Flower
Read Full...
I never get bored with flower
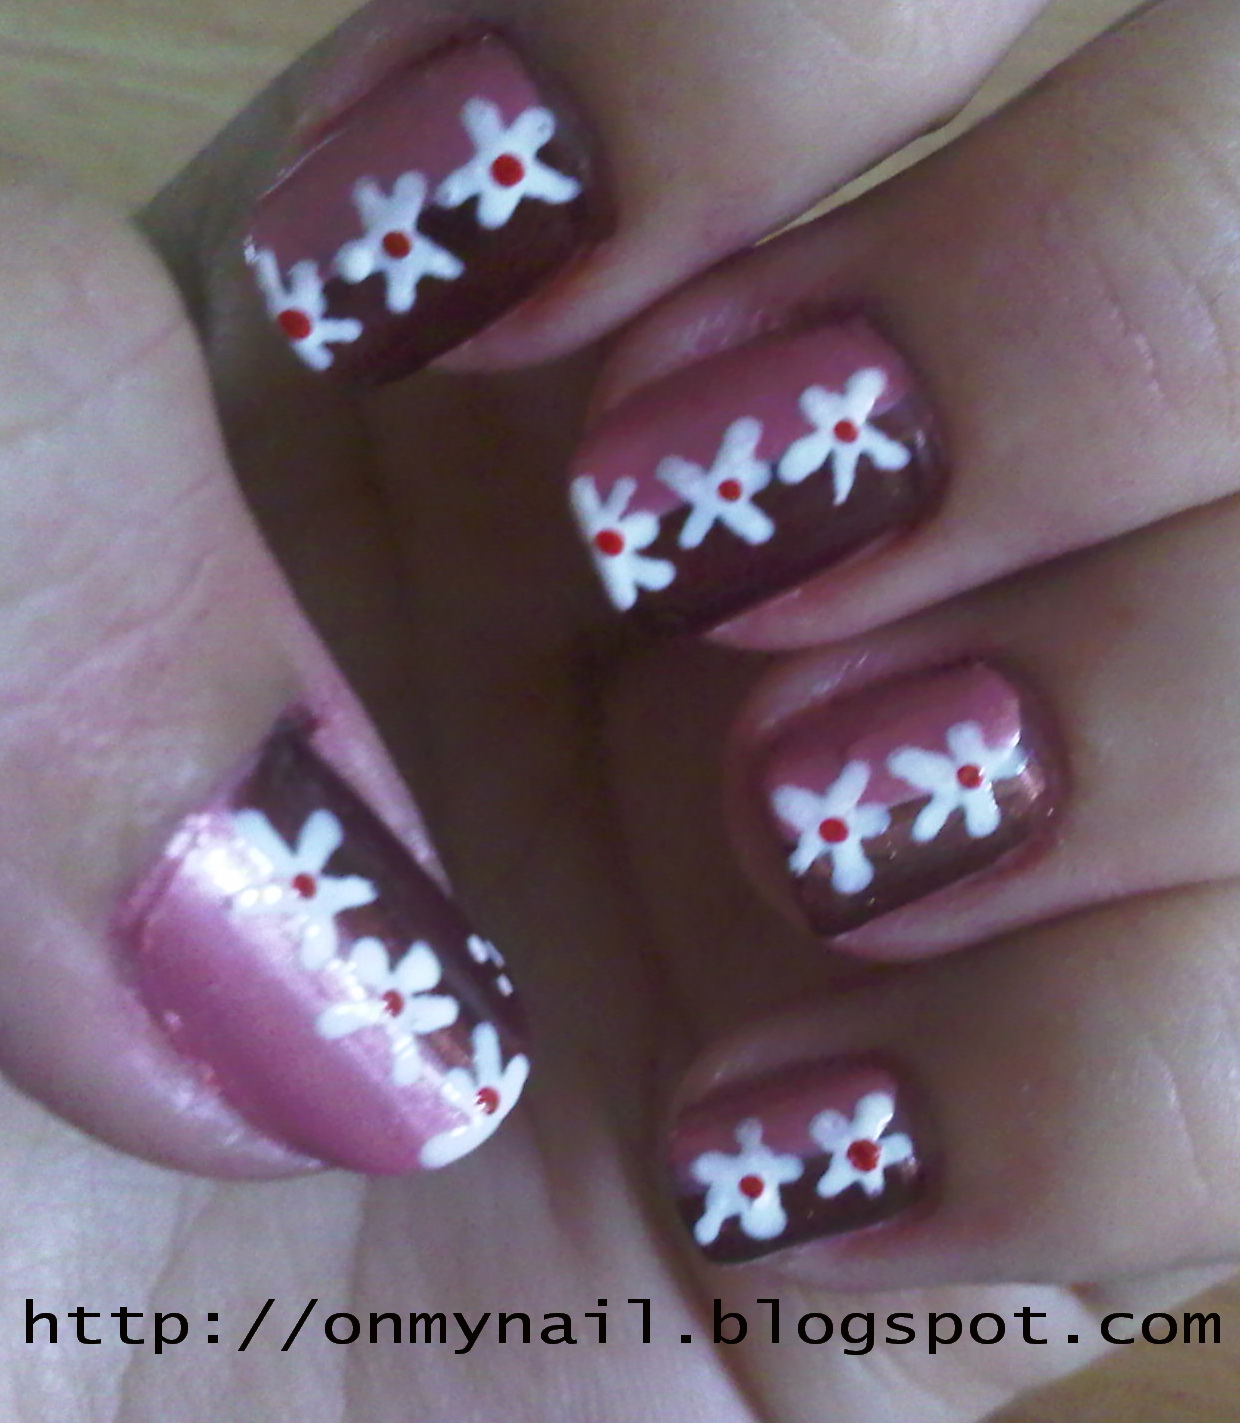
Trying to create new style of flower, so i created 2 color background : pink and brown. 9 Lady Blossom from Maybelline (pink) and brown from Pixy. I started with base coat from Pixy, then 9 Lady Blossom and brown as background color. Then i created white flowers as vertical way with white from unknown brand-polish.
Here it is:
Read Full...
Here it is:
Read Full...
Thanks for more followers!
I gratefully to you who really kind to decided to be my followers. As beginner of nail polish and nail art lover, i know i still really learning to improve in creating more nail art. And im so appreciate for more followers of my blog (onmynail). Still, i looking forward for any comments, suggestions, critics or anything u want to share here with me. So, please dont hesitate to give any of them because all of those are appreciated. :)
Well, yesterday finally i went again to one of fav mall in Bandung after like 2 years havent been visit there. I was so happy and enjoy every moment of them. And "Red Mango' was one of place i got entered and enjoyed. Then it inspired me to create the nail art i just done.
Here is me and mum at Red Mango :
I picked two colors that dominant at Red Mango. They are red and black. So, here it is :
Read Full...
Well, yesterday finally i went again to one of fav mall in Bandung after like 2 years havent been visit there. I was so happy and enjoy every moment of them. And "Red Mango' was one of place i got entered and enjoyed. Then it inspired me to create the nail art i just done.
Here is me and mum at Red Mango :
I picked two colors that dominant at Red Mango. They are red and black. So, here it is :
I was so tired to create the flowers, so i used sticker for flower.
Im not showing the polishes i used this time because no photo taken and the camera i used to take photos being used right now and of course i always cant wait for any longer to update the post :)
Simply Green Flower
Hi , i feel so tired today but i always excited to keep update post here. I had through long day and still have lots of work to do for my visa bussiness. Its so making me nervous but i still doing all task with full of faith.
This time, i used sticker i bought few days ago before i left Bali. I bought many nail accesories such as nail stickers, toe separators, blue unknown brand-polish and gold glitter polish from Eternally.

So, this morning i started to use base coat from Pixy and used 2 coats of green from Eternally as base color. Then, i applied flower sticker on green polish.
Thanks for viewing! :) Read Full...
This time, i used sticker i bought few days ago before i left Bali. I bought many nail accesories such as nail stickers, toe separators, blue unknown brand-polish and gold glitter polish from Eternally.

So, this morning i started to use base coat from Pixy and used 2 coats of green from Eternally as base color. Then, i applied flower sticker on green polish.
Thanks for viewing! :) Read Full...
3 Flowers
Feels so long time since the last time i updated the blog. Well, ive got alot of work to do so had very little time to write new post. This time, the manicure is about flower again. I still havent get improve creating flower style yet. Honestly, i was going to make dolls expression but oh it was fail at all lol. I thought it was easy to make till i got no idea how to make the lips of the doll lol.
So, I started with base coat from Pixy, then a coat of Tough Buff from Sally Hansen, then i started make design by toothpick creating flowers. I used black from unknown brand-polish, green from Eternally, red from Pixy, and white from unknown-brand polish.
Here is the picture:
No picture of polish i used because i forgot to take any picture of them :( Read Full...
So, I started with base coat from Pixy, then a coat of Tough Buff from Sally Hansen, then i started make design by toothpick creating flowers. I used black from unknown brand-polish, green from Eternally, red from Pixy, and white from unknown-brand polish.
Here is the picture:
No picture of polish i used because i forgot to take any picture of them :( Read Full...
Paint Me Flower
Since flower is easy to make and favourite to almost every women, i made flower to my nails. But like i said, so far this is only style of flower i can make. And i think make some leafs also bit difficult , i dont know why it looks very easy to make, but when i trying to do it by toothpick, its so hard. Well, i never used any nail art pen anyway, but dont know how much would the diffrences between them.
So, for this mani i started with base and top coat from Sally Hansen, a coat of brown gold from Pixy, green for leafs from Eternally, red from Pixy and white unknown brand-polish for small dot in the middle of flower, and last of course a top coat.
Then i started to make more flowers :
For this mani, i started with base coat from Pixy, a coat of purple from Eternally, white fron unknown brand-polish to create the flowers then a top coat from Pixy.
Read Full...
So, for this mani i started with base and top coat from Sally Hansen, a coat of brown gold from Pixy, green for leafs from Eternally, red from Pixy and white unknown brand-polish for small dot in the middle of flower, and last of course a top coat.
Then i started to make more flowers :
Back to Nail
Hello, back here for a while from viewing US Embassy website. I have read and found out what info that i need. Okay back to nail, today im going to updating some photos of mani. I like to paint flowers and french manicure-style. I have done lots of flower mani, but i still have to think for more style of flower to create on nail.
For this, i started with base and top coat from Sally Hansen, then i applied 2 coats of Tough Buff from Sally Hansen, then i paint the flower with tooth pick. I used red from Pixy and green from Eternally to make the flower. Oh yeah, i forgot to mention that i use white from unknown-brand of polish to make a small dot in the middle of flower.
Here the picture :
And this one is mani that my neighbour done to my right hand. Do nail art by using left hand is still very difficult for me! :( So she offered to make a french manicure to my right hand. For this mani , started with base and top coat from Sally Hansen, one coat of Tough Buff that making my nails look more natural and healthy , and white of unknown brand-polish to make horizontal line on top of nails. Then i asked her if she can apply some green glittter that i bought the day before. And she applied it very tidy. I love the mani result very much :D So here is the picture :
And i forgot to take pics of the gliiter bottle and the polish bottles for this mani. Read Full...
For this, i started with base and top coat from Sally Hansen, then i applied 2 coats of Tough Buff from Sally Hansen, then i paint the flower with tooth pick. I used red from Pixy and green from Eternally to make the flower. Oh yeah, i forgot to mention that i use white from unknown-brand of polish to make a small dot in the middle of flower.
Here the picture :
And this one is mani that my neighbour done to my right hand. Do nail art by using left hand is still very difficult for me! :( So she offered to make a french manicure to my right hand. For this mani , started with base and top coat from Sally Hansen, one coat of Tough Buff that making my nails look more natural and healthy , and white of unknown brand-polish to make horizontal line on top of nails. Then i asked her if she can apply some green glittter that i bought the day before. And she applied it very tidy. I love the mani result very much :D So here is the picture :
And i forgot to take pics of the gliiter bottle and the polish bottles for this mani. Read Full...
Subscribe to:
Posts (Atom)