Showing posts with label Valentine's Day Nail Art. Show all posts

Valentine's Day Nail Art Series - Cute Hearts

Hey guys!

I want to start off by apologizing for only posting nail art recently but I've been completely swamped with school work this whole week! Once things start to calm down I'll get back to more regular posting. :)
In the meantime though, today I have for you the last in my Valentine's series - a simply but cute heart design. I had a few other ideas in mind but I won't get to do any of them before Valentine's Day so I guess I'll just have to save them for next year!

Photobucket


Products:
Seche Clear Base Coat
OPI - Alpine Snow (base on all fingers except ring fingers, white hearts on ring fingers)
China Glaze - Something Sweet (base on ring fingers, light pink hearts on others)
OPI - I'm Indi-a Mood for Love (dark pink hearts)
OPI - Rumple's Wiggin' (purple hearts)
Seche Vite Top Coat

So what does everyone have planned for Valentine's Day? My boyfriend is working in the morning and I'm working in the evening on Monday so we're actually exchanging gifts tonight. We're also planning on going out to supper at some point or another but right now is just too hectic for me with school. Plus, I'd rather go when the Valentine's crowd calms down since I'm not a fan of big crowds.
Anyway, I hope everyone has a safe and happy Valentine's Day! Read Full...

Valentine's Day Nail Art Series - Chocolate Dipped Strawberries

Hey everyone!

One of my favourite things about Valentine's Day is that my boyfriend always makes me delicious chocolate dipped strawberries so I decided to do a nail design inspired by that!

One of the best things about this design is that it's a pretty versatile! You could remove the chocolate portion of it and it becomes a fun design for any day of the year and if you used brighter colours this would be a great summer mani.

Photobucket


Products:
Seche Clear Base Coat
Nicole by OPI - OMB! (strawberry)
China Glaze - Starboard (leaves)
Revlon - Hot for Chocolate (chocolate)
China Glaze - Lighthouse (seeds)
Seche Vite Top Coat
China Glaze Matte Magic (on top of chocolate portion only)

(By the way, OMB! by Nicole by OPI is STUNNING. I seriously considered leaving it on by itself because I hated to cover some of it up! If you don't already own this colour, I really recommend considering it.) Read Full...

Crazy Hearts/Valentine's Day Design

 A funky Valentine's Day design with all the "romantic" colors. I am running out of Valentine's Day designs, so I am not sure how many more I will have before the day is upon us but I am working on a few designs that are not holiday or special occasion. Anyway, enough of my rambling and onto the tutorial.
 I didn't take pictures in between putting on each stripe but that's what I did. I picked four Valentine's type colors. I chose China Glaze-Bing Cherry(dark & shimmery red color), Sally Hansen- Xtreme Wear-Fuchsia Power(a bright pink), China Glaze- White Out(a bright white), and China Glaze- I Wanna Lei Ya(a more subtle and soft pink). I did a diagonal stripe of each color along the nail. I made them as even as I could but they aren't even at all, lol.
 After the colors were all applied, I used Kiss nail paint (Black) and separated each color with a thin black line.

 I used the same colors and created hearts. Starting with the bottom of the nail, what would be the cuticle area, I made a heart in the lighter pink area. I decided to use the same colors but go the other way with the pattern. So for the base colors, I went from cuticle to tip with light pink, then white, then bright pink, then dark red. For the hearts, I did the opposite. So the first heart was dark red, as shown in the pic. I titled the heart toward the left a bit.
 The next heart was the bright pink. I went the opposite way with this heart and tilted it to the right
 Then the white heart...which I then went opposite of the one before it again and made it tilt left, like the first heart did.
 And finally the softer pink on the dark red, which tilted to the right.


 This was the finally product. This was a design that I was creating it as I painted but I was actually quite happy with it.
Not as even as I would like but sometimes it nice to see things aren't exactly perfect. I don't know... what does everyone else think? Is anyone painting their nails special for Valentine's Day? I know I will but I still haven't settled on a design! Well thanks for reading, I hope you enjoyed this tutorial and I encourage anyone to give this a try. Very easy and very cute!!! Read Full...

Valentine's Day Nail Art Series - Glitter Kisses

Hey guys!

Today I have the second design in my Valentine's Day series and this is one that I'm actually going to leave on for longer than half an hour! I removed my Lovebug design about half an hour after I posted it and put on my Neon Rainbow Cheetah Print for the second time. However, I actually really like this Valentine's Day mani so this one will be a keeper. :)

Photobucket


Products:
China Glaze Strong Adhesion Base Coat
OPI - Alpine Snow (base)
Orly - Winter Wonderland (white glitter)
China Glaze - Pom Pom (pink glitter)
Color Club - Art of Seduction (red glitter)
Revlon - Belle (silver glitter top coat over everything)
OPI - Black Onyx (lips)
Seche Vite Top Coat Read Full...

Dotted Hearts for Valentine's Day Nails


 Anther Valentine's Day design. There is really so many possibilities for Valentine's Day. I tend to use the colors most associated with the day, such as different reds, pinks and whites. But a variety of other colors works too. Designs like this just scream Valentine's Day to me because the colors and hearts together remind me of the day. I started by painting my tips, as shown in the above and below pictures. I did opposites. I painted my thumb, middle and pinkie fingers on my left hand with white tips and did red tips for the pointer and ring fingers. On the right hand, I did the opposite, so my thumb, middle and pinkie are red tips and my pointer and ring fingers are white tips.
The White I used was- China Glaze- White Out
The Red Polish I used was- China Glaze- Bing Cherry
 The picture above is my left hand, I am a righty, so I did my left first and it usually comes out better. I drew on hearts using a dotting tool. I drew red hearts on the white tips and white hearts on the red tips. I used the same colors I used for the tips.

 Then I used my dotting tool and made four little dots with the same red polish curving away from the heart, as shown in the picture below.
 I did the same with the white polish, and added dots to every heart.

 Here is a closer shot of my left hand, showing both the red tip and white tips.

 The picture above shows the total design and the picture below is my right hand. Not as clean or as good. I am still practicing to get better with my left hand but matches enough.


Hope you Like these nails! I think they are very simple, elegant, and pretty. They are for more than Valentine's Day but perfect for it too. Thanks for reading and feel free to comment or try this design yourself! Read Full...

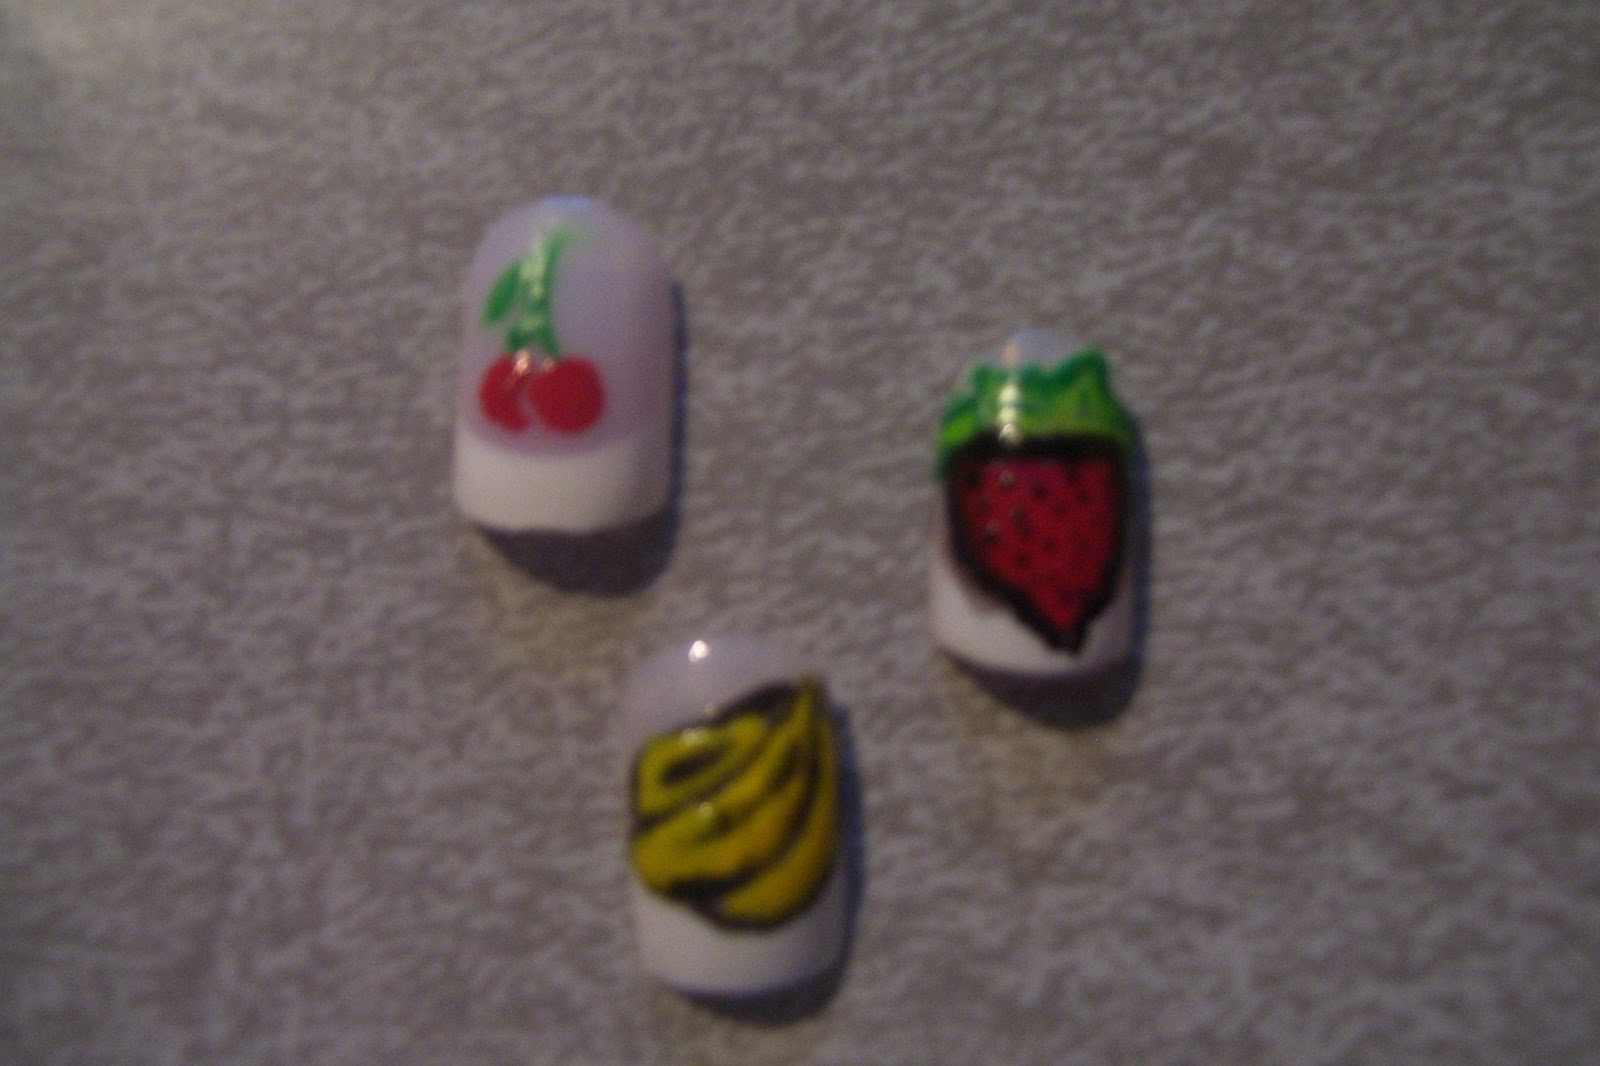
Just a Bit Fruity

  I did a few fruit nails. Very simple designs. I think the cherries came out looking the best of the three. It almost looks like a stencil, and I did all 3 freehand.

 For the bananas, I started with the center banana. I drew the outline in black. Once the center one was in place I outlined two more bananas in black, one on each side of the center banana. Then, I drew a black line down the center of the top banana and the middle banana, to add depth. Once the black dried a little, I colored in the black outlines with yellow, making sure ot to cover my center black lines in the two bananas.
 The cherries were easy and came out nice. First, I did a small but complete circle in red toward the tip of the nail and toward the middle. Then I did an almost full circle in red next to the first red circle. Then I drew some green lines for the stems and made a little leaf and I was done. Very clean and cute.


The strawberry is a bit rough. I started with the black outline, but it was too thick of an outline. Instead of fixing it, I just continued. I filled in the outline with a red colored polish and then added little red oval shaped dots n top of the red, to simulate the seeds. hen I used green to do the green top. I think I could have done better with this but it wasn't too bad I guess. So that's it for the fruit for now. Thanks for reading, hope you enjoyed and please comment! Read Full...

Rhinestoned Tips/Valentine's Day Design

 Another Valentine's Day design! I really didn't have a vision in mind when I started this, I just let it come to me...I guess, lol. I am almost hearted out with all the Valentine's Day designs but here it is anyway.


 First, I started with a red base and I used China Glaze- Bing Cherry for the base. I only had to do one coat, but I made sure it was a little thick of a coat.


Then I used China Glaze-White Out and did the white tip, as shown below.

 Once the white tips were dry, I used KISS nail paint-Bikini Pink and made a diagonal line from the corner of the white to the top of the red.
 The hearts are a bit rough. Definitely not the best but they work. I did the pink hearts in China Glaze- I Wanna Lei Ya.
 Once all the colors were mostly dry, I used light pink rhinestones for my pointer finger, middle finger and pinkie finger. I placed the rhinestones where the red and white areas meet, and spaced them apart just a little. For the ring finger and thumb, I used red rhinestones. On the ring finger and thumb, I also used 3 silver rhinestones and placed them around the heart on the nail.

 Here is a pic of my thumb. Not too bad, but not super great either. I am still learning, but this was fun to do.
Hope you enjoyed! Please feel free to comment or ask any questions. Thanks for reading! Read Full...

Stripes, Hearts, and Rhinestones/Valentine's Day Nail Design

 I can't help but overindulge the romantic "holiday", since I think that pretty nails are romantic in themselves. I did another Valentine's Day design, using a few rhinestones and small heart decals. Sorry the pictures are not better quality but I hope you can still see it well. This is the design to did to my own nails tonight.                                                                                                                                                                                                                                                                                                                                                                                                                                                                                                                                                                                                                                                                                                                                                                                                                                                                                                                                                                                                                                               First, I started with a regular white, french manicure. I used China Glaze-White Out, as shown in the picture below. After the white was applied, I used Kiss Nail Art paint-Bikini Pink, and made a stripe along the white part, as shown in the picture below and to the right.                                                                                                                              


 After the pink, i used Art Club's Red Striper lacquer and made a red line across the pink but curved outward toward the edge of the nail, which is pictured above and below to the left. After the red, I used a lighter pink color(blank bottle-Lilac Silk) and did the same that I did with the red but on the opposite side, going inward toward the nail. It is a little harder to see because the pink is lighter and my poor quality photos but you can sort of see those lines in the picture below and to the right.
 Again, it is hard to see but once my paints were mostly dry, I used a pink heart-shaped rhinestone and added that at the very edge of where all three colors meet, in the middle of the colors. Next to the heart but a little lower, I added another heart but the second one is a purple decal heart, as shown in the picture below.(again, i know these pictures are not so great)
 On the ring finger and thumb, I added 2 silver rhinestones, 2 red, then two pink in a small curved lie towards the cuticle area. After the last few pieces, I added two layers of top coat, just in case and Ta-Da! This was not very time-consuming at all and a very nice, stylish choices for Valentine's Day. Hope you like it and thanks for reading! Please comment or reply!
Read Full...

Heart Manicure

 I did this to my own nails last night. I did a dark red french tip with Mauve Frost by Wet & Wild. Then I drew a large heart on each nail. On the left hand, the hearts were off to the right side and on the right hand, the harts were off to the left.
 I used a white Migi nail pen for the heart and then put little dots going along the edge of the red. After all the paint was placed, I used silver rhinestones for my thumb and ring fingers, adding them to the to of the nail, opposite side of the heart. Then I used pink rhinestones and did th rest of my fingers the same way. I was really happy wit the way they came out, very cute!!
Read Full...
 
© 2010 Copyright by Beauty Nail Art